![]()
The kit building process can be found in my previous post called Building the FLITZER, part I., while in this second part I wrote about the finishing work on this nice Revell kit (colouring, decals, patina) and also posted more completed kit photographs here.

2. Colors and Painting
The Revell is offering two “what if” camouflages in the kit – both for the P VII – probably the follower of P VI Flitzer project (or testing platform). The first camo is “White 5”, JG1, Leck, 1946: The second possibility is “Red 3”, JG1, Finow 1946.

You can find one of these proposals on the box cover too:

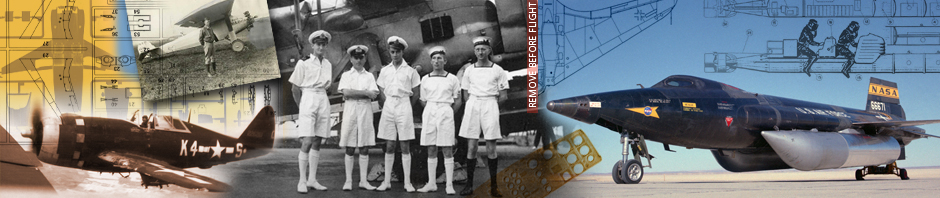
I decided not to use any of these camouflages. I tried to make something like a third (prior to production) prototype.
All the kit surfaces were airbrushed with ALCLAD II aluminium 101 at first – to allow the possibility of making the real way for camo color chipping. Then the camouflage colours were applied: Mr. Color No. 37 RLM 75 Gray Violet for upper surfaces and Mr. Color No. 117 RLM 76 Light Blue for lower surfaces. Undercarriage, the wells and the nose tip were airbrushed with Mr. Color No. 60 RLM 02 Gray color.

Several areas remained bare metal – this is another what if to make the otherwise simple kit more eye-catching. Both camouflage colors were lightened by adding drops of white (delicately) and unevenly airbrushed. The chipping was applied mainly around the canopy and nose using a sharp knife. Very faint scratches were made by needle tip on the wing leading edges.

3. Decals
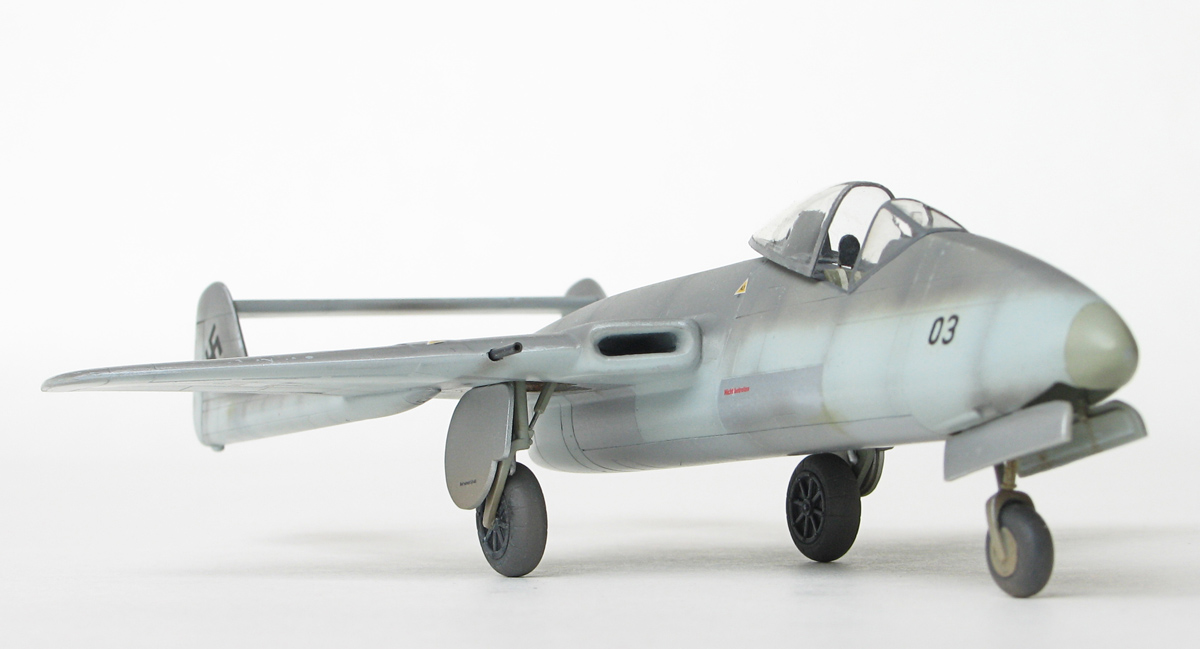
The Mr. Color Super Clear gloss coat was used in order to set the decals well. The original decals were not used except stenciling. The Aero Master AN72230 decal sheet was used for Luftwaffe crosses (available from Squadron Products). The 03 prototype numbers and the swastikas were from left-over box.

4. Weathering and Patina
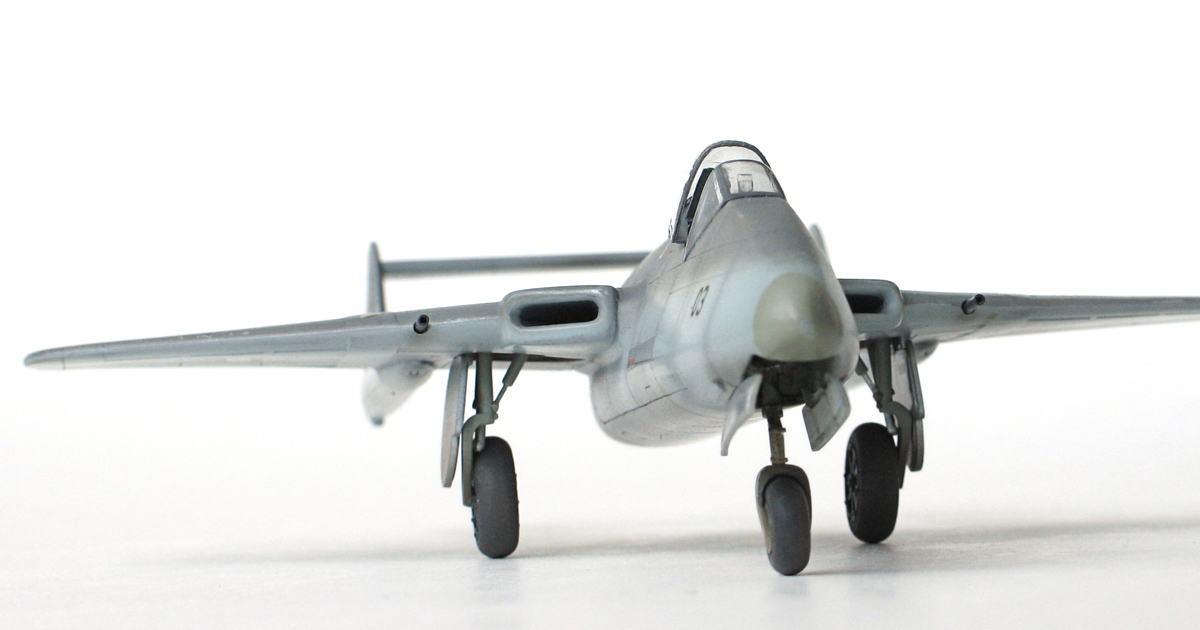
Keeping in mind that this kit represents the prototype plane, possible patina and/or weathering can be used very finely (or merely visible). The mix of brown and black oil colors diluted in MiGs’s Thinner for washes was used as mud stains (as from airfield) beneath the wings and fuselage – both behind undercarriage. The lower mid portion of the tail wing was airbrushed with Dk. Gray simulating dirt such as engine soot deposits. The Mud and Earth dry pigments were used on wheels and fixated by overspraying.

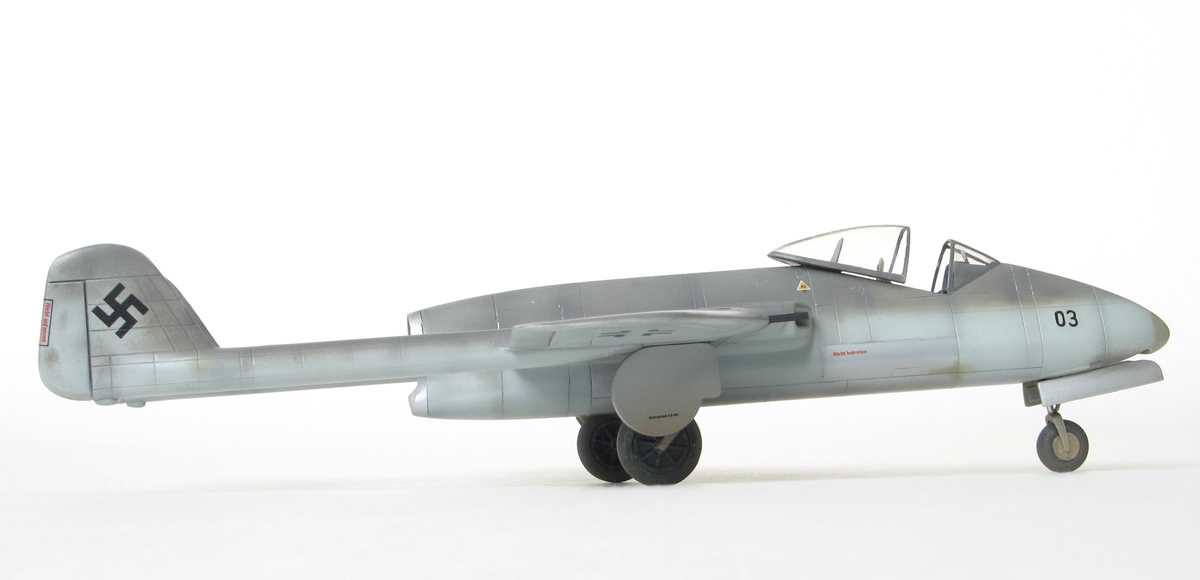
The kit photographs emphasize the weathering effect a bit, as usual. The kit looks less outworn in real.

The Mr. Color Super Clear Flat overcoat came in the final – this also helped to “calm down” the bare metal areas, scratches and chipping – not to be too dominant.

This is the close-up of the canopy area. The main instrument panel is from the Revell kit as it was, only painted and drybrushed.

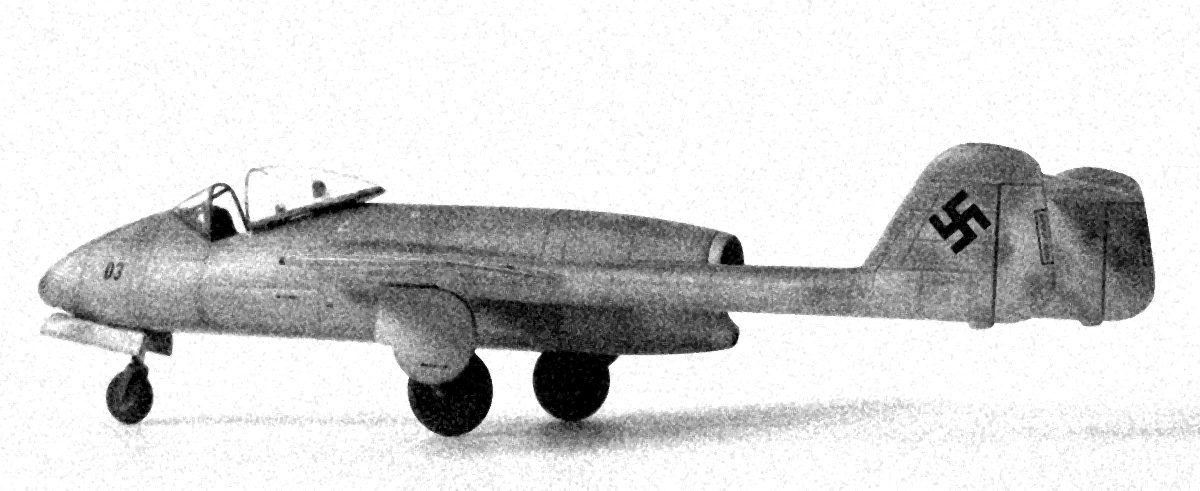
6. Additional b/w photographs

Please note: all the b/w photographs used (within this and previous posts) were manipulated to have the historical-like look.

7. The Pros and Cons of the Kit (as I see it)
Pros:
- fine surface with delicate recessed panel lines
- precise injected parts (minimum of sanding and filling needed), no molding flash, no deformations
- Comprehensible instructions + simplicity of building
- Relatively high overall quality / low price
Cons:
- Canopy plastic is clear and smooth, but too thick and in one piece – so you cannot see the interior
- Two unpleasant sink marks on wings from below
 My special thanks to:
- Mr. Peter Jankovič for the in-scale swastika decals
- Mr. Juraj Bojkovský for valuable help with acetate canopy forming process and herewith linked encouragement
- Mr. Ivan Višváder for a trick with the front wheel separation effect.
For more finished model-kits please see the Built Kits category. If you enjoyed this post, I’d be very grateful if you’d help it spread by sharing it on Facebook.
Model, Images and Text Copyright © 2011 by Marcel Meres.